1: Build a sign-in page on the client
Build a sign-in page that captures the user's name and password, similar to the following wireframe.
2: Authenticate the user credentials
When the user initiates the sign-in flow (for example, by clicking the Continue button),
create an AuthenticationOptions object and set its Username and Password properties to the values entered in by the user. Send this object to the AuthenticateAsync method for the IdxClient.
3: Handle the response from the sign-in flow
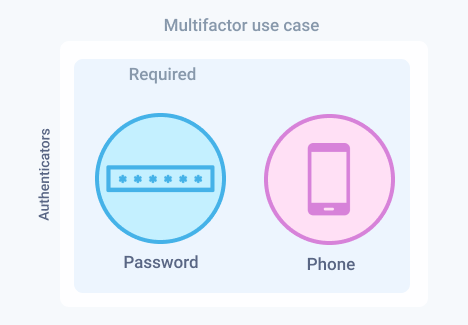
If the username and password are valid, AuthenticateAsync should return an AuthenticationStatus of AwaitingChallengeAuthenticatorSelection. This status indicates that there is an additional factor that needs to be verified before the sign-in. In addition to the status, the Authenticators property should return the phone factor.
The user should be redirected to the authenticator list page that displays
the phone factor as an authenticator to be verified. See the following sample code for more details.
4: Show the phone factor in the authenticator list
The next step is to show the phone factor in an authenticator list page. Build a page to display the list of authenticators from the previous step. In this use case, only the phone factor appears, similar to the following wireframe.
5: Select the phone factor by calling the SelectChallengeAuthenticatorAsync method
When the user selects the Phone factor, a call to SelectChallengeAuthenticatorAsync is made that sends a verification code to the user's phone through SMS. This method accepts the SelectAuthenticatorOptions parameter that is used to pass in the phone factor ID.
If the call is successful, the method returns the AwaitingAuthenticatorEnrollmentData status that indicates that the SDK needs a phone number to send the verification code. The next step is to redirect the user to a page to enter the phone number.
6: Build the phone number entry page
Build the phone number entry page that accepts the phone number that the user will enroll and verify.
Note: The SDK requires that the phone number be in the following format: +##########, including the beginning plus (+) sign, for example, +5551234567.
7: Call the EnrollAuthenticatorAsync method to submit the phone number and send the SMS
When the user enters a phone number and clicks the send code through the SMS button, a call to EnrollAuthenticatorAsync is made that passes in the following values:
- Authenticator ID
- Phone number
- Methodtype (only SMS is currently supported)
Note: Only SMS is currently supported for the phone authenticator type.
The values are passed in through the EnrollPhoneAuthenticatorOptions parameter. See the following code snippet for more details.
8: Handle the response from the EnrollAuthenticatorAsync method
If the call to EnrollAuthenticatorAsync is successful, it should return an AuthenticationStatus of AwaitingAuthenticatorVerification. When the status is returned, a code is sent to the phone number through SMS.
In the following code snippet, the user is redirected to a reusable code verification page that handles the code for both email and SMS. Your implementation may vary.
9: Build or reuse the phone verification code page
Build a page that accepts the code sent to your phone number through SMS. Depending on your implementation, this page can be the same page that verifies the email code or a different page. The sample app reuses the same page for both the email and phone verifications.
10: Call the VerifyAuthenticatorAsync method to verify the phone code
The next step is to call VerifyAuthenticatorAsync. For phone verification, the code that is passed into VerifyAuthenticatorAsync is the code that was sent by SMS to the phone number.
11: Handle the response from the VerifyAuthenticatorAsync method (factor verifications completed)
The next step is to handle the response from VerifyAuthenticatorAsync. If the phone SMS code is valid, the method should return an AuthenticationStatus of Success. This status signifies that no factors (required or optional) are waiting to be enrolled and verified. The user should now be registered with no more factors to be verified and sent to the default page after they have successfully registered. In the sample app, the user is sent to the user profile page.
Optionally, you can obtain basic user information after the user successfully signs
in by making a request to the Okta OpenID Connect authorization server. See Get the user profile information for more details.